So I brought to watch Star Wars and has agreed to watch the other movies. Tomorrow we are going to watch Episode 4 and 5, but since it is New Year Eve, I do not want to carry my laptop to school. So I downloaded a MKV 1080 (the format the movies are in) sample and booted up the Pi.
I couldn't find a video player so had to search online to see if it had one. Only two players work well, Omxplayer and XBMC player (both use hardware accelerated GPU). Omxplayer comes preinstalled but has to be launched with the terminal, simply by typing omxplaer file.mvk. Before that I would recommend typing oxmplayer -h to see a list of options (especially if you want audio through the HDMI).
When I typed omxplayer -h, I learned that omxplayer is sort of a test bed for the XBMC player.
Opon more reading, I found out there are three (popular) versions of XBMX players for the RPi; Raspbmc/OSMC (newer version is called OSMC), OpenElec, and XBian.
Raspmc is simply Raspberry with XBMC, OpenElec is simply XBMC (no full OS under the hood) and Xbian is XMBC built upon Raspbian, making it in between Raspmc and OpenElec.
OpenElec boots the fastest, Raspmc the slowest, and Xbian is in the middle (note: boot time. Performance is the same for video play back.) Same for amount of space needed for OS, with Raspmc being the most, and OpenElec the least. One interesting thing to note however, is that Xbian receives updates much faster and more frequently than Raspmc.
Conclusion: Xbian seems to be in between and perfect, if you have a spare memory card lying around. I shall give it a shot.
Wednesday, 30 December 2015
Thursday, 24 December 2015
Updates; Hackathon, purchases, Kali Linux, death of RPi B+
(1) Finally threw away my old CPU tower while cleaning up my room. Savaged the hard disk, power supply, two fans (sadly 12V), and some buttons.
(2)Bought a 27" monitor to replace my 20"

(3) Bought a HDMI switch. It only cost me $16 and makes life so convenient. No more plugging in and out wires. I set it up at home, one input is the computer, second is PS4, and last one is empty for now. Will purchase one more cable and attach it for my RPi.

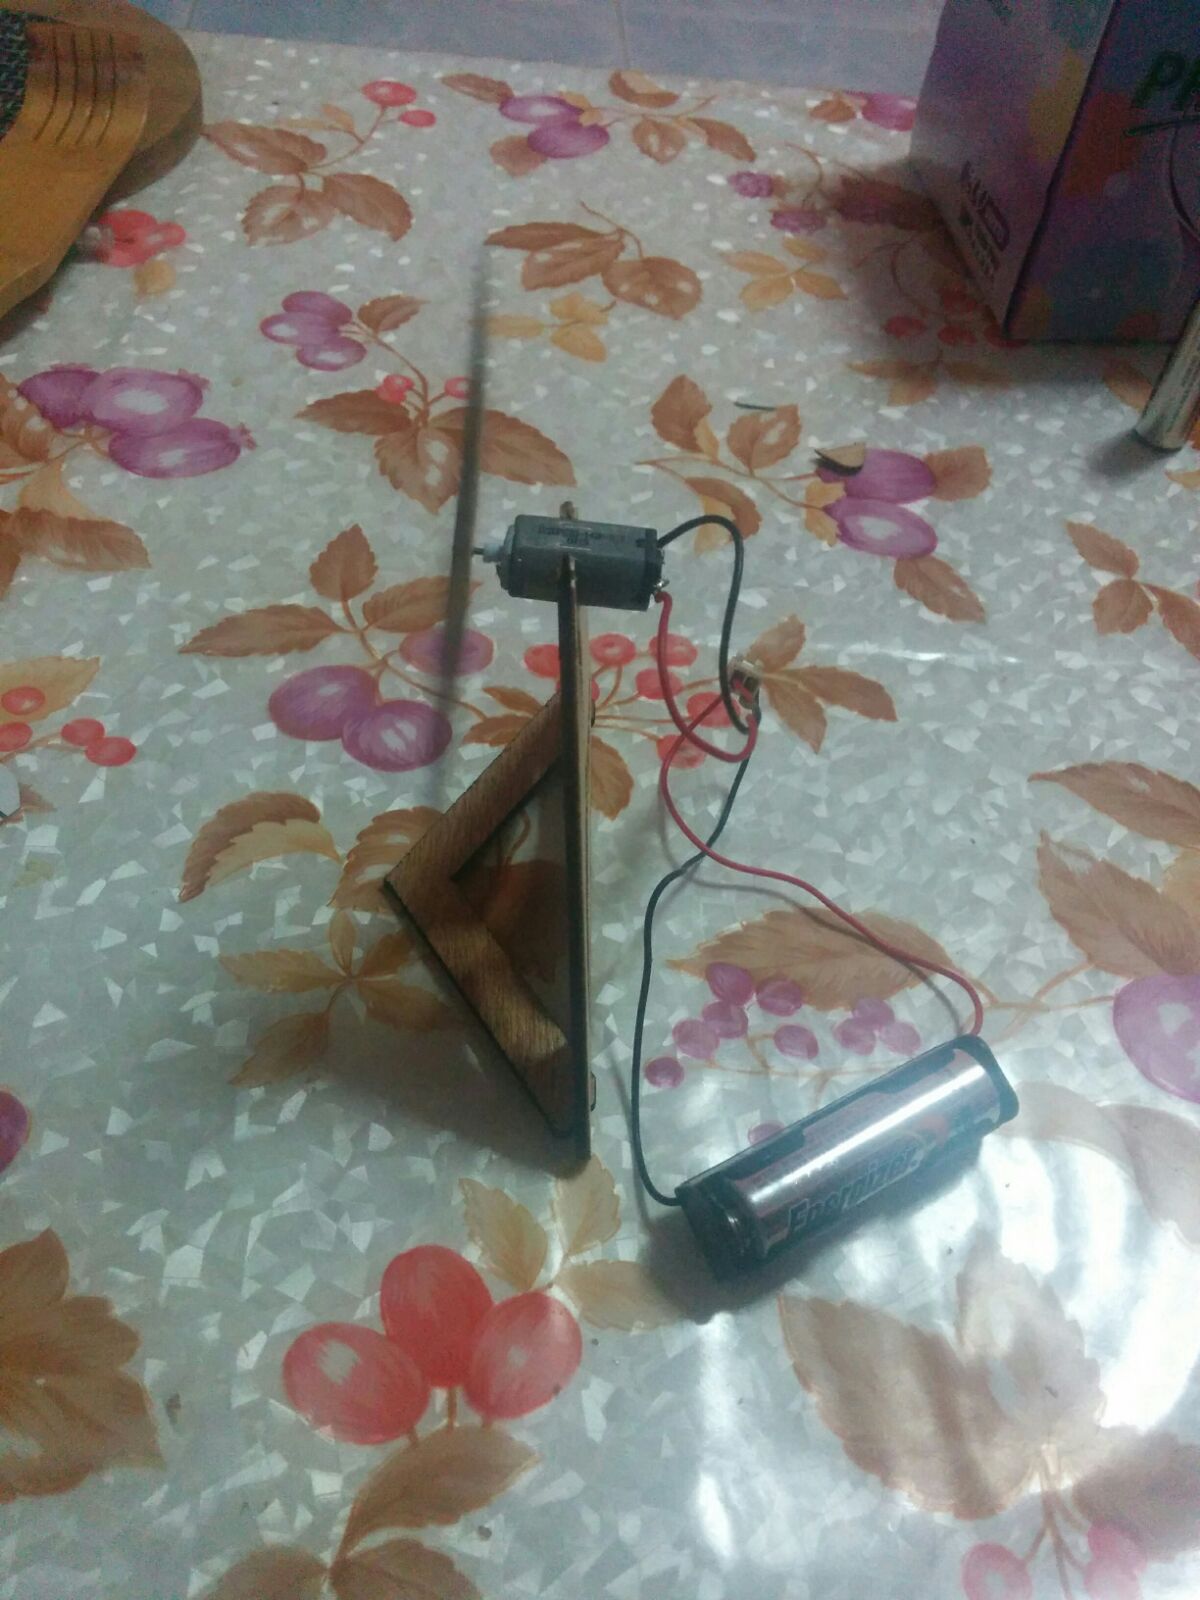
(4) Took part in an experiment to find the threshold where a human wrist will no longer be able to differentiate between angles. The machine in question is pictured below. Had to wear modified goggles that ensure my vision was removed from the equation.

(5) So I bought this dongle as I wanted to try out Kali Linux on RPi 2. However once I set everything up and running, it turns out that the chip set does not support network monitoring, which is something quite essential for Kali. I did a search on chips that support it, and will go buy another one. Hopefully I can return this while at it.

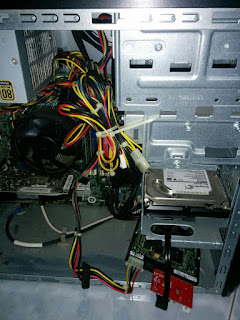
(6) One of my previous blogpost was about trying to read an old drive.
So I brought it home and manage to get it spinning but am still unable to read from it. I'm afraid it might be damaged. I will try again this weekend, last week I was very tired and sleepy so I decided to go to bed after I managed to get it spinning.
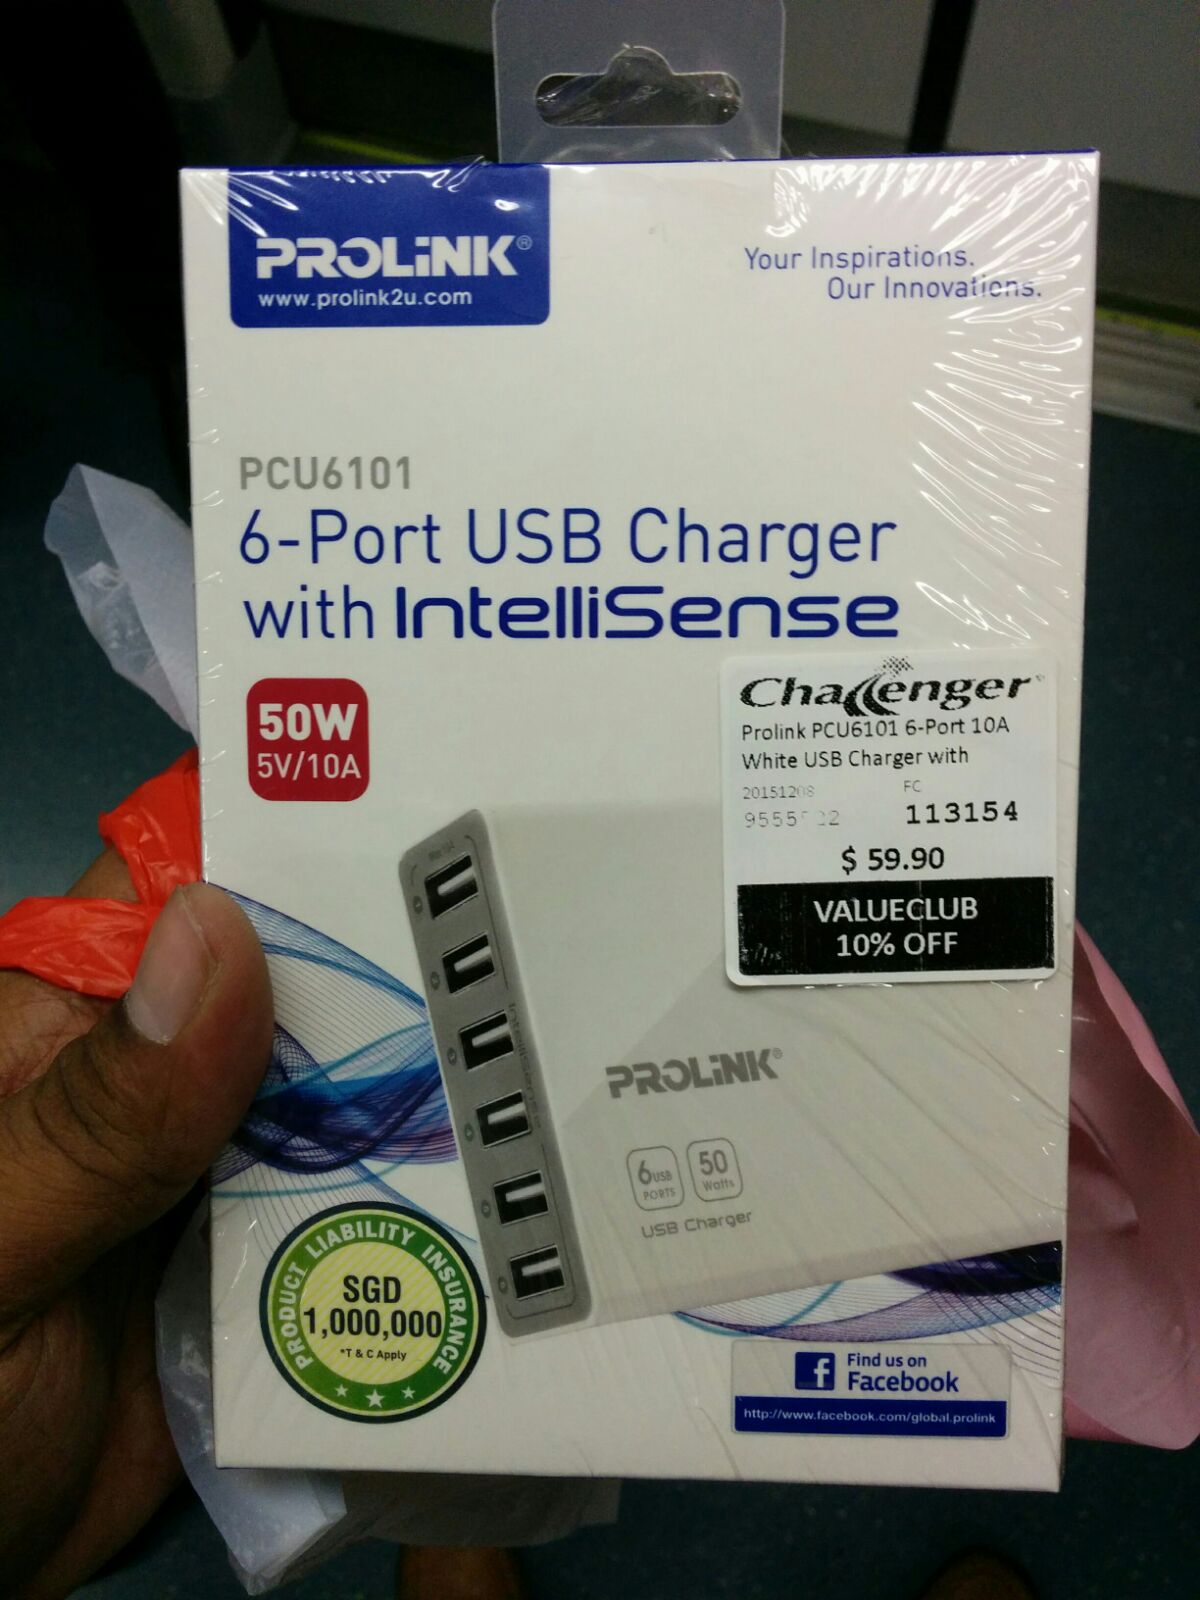
(7) Another purchase. Now not only will my siblings, dad, and I no longer have to "fight" for the favourite charging spot (beside the computer), but I can also use it to power the RPi.

(8) My brother gave me this, which he got from a trip to SP. Thanks for the spare parts.

(9) So I joined my second hackathon, DBS PayLah hackathon. It was in the first week of Dec and was 3 days of training followed by two days of hacking. Nights were not included, even for the 2 days. The training was basic HTML, CSS and JS, which I knew due to bootstrap. So I took to LyndaCampus and learned Ionic, which we used to develop our app. I also integrated the DBS PayLah API into our app. End of the way, we had a presentation and I'm glad to announce that we won first place! =D
(10) Someone I know is selling his B+ with power cable, case, and memory card for $30. It is a good deal at that price, but I'm not sure what I will do with another B+. The RPi2 is so much faster. Ever since I got it, I have been using it exclusively, swapping memory cards when I have to, and only touched my B+ yesterday, when I was at home and wanted to try out Kali (don't bother trying it on B+, use 2 instead). If I find a use for it (them) I guess I will buy it.
Tor relay? Guess I can consider this, relay only, no exit node.
Tor router? Sounds cool but I if I really needed so much privacy there are other ways to achieve it. Can't think of when I would need a tor router.
Rebuild or improve the arcade machine and leave it in it permanently? I think this sounds like the best idea, especially if I used a transparent/translucent box to house everything, possibly add on a fan or two.
I'm glad I booted up the B+ before committing to buy another and before the Zero came here.
(2)Bought a 27" monitor to replace my 20"

(3) Bought a HDMI switch. It only cost me $16 and makes life so convenient. No more plugging in and out wires. I set it up at home, one input is the computer, second is PS4, and last one is empty for now. Will purchase one more cable and attach it for my RPi.

(4) Took part in an experiment to find the threshold where a human wrist will no longer be able to differentiate between angles. The machine in question is pictured below. Had to wear modified goggles that ensure my vision was removed from the equation.

(5) So I bought this dongle as I wanted to try out Kali Linux on RPi 2. However once I set everything up and running, it turns out that the chip set does not support network monitoring, which is something quite essential for Kali. I did a search on chips that support it, and will go buy another one. Hopefully I can return this while at it.

(6) One of my previous blogpost was about trying to read an old drive.
So I brought it home and manage to get it spinning but am still unable to read from it. I'm afraid it might be damaged. I will try again this weekend, last week I was very tired and sleepy so I decided to go to bed after I managed to get it spinning.

(7) Another purchase. Now not only will my siblings, dad, and I no longer have to "fight" for the favourite charging spot (beside the computer), but I can also use it to power the RPi.
(8) My brother gave me this, which he got from a trip to SP. Thanks for the spare parts.
(9) So I joined my second hackathon, DBS PayLah hackathon. It was in the first week of Dec and was 3 days of training followed by two days of hacking. Nights were not included, even for the 2 days. The training was basic HTML, CSS and JS, which I knew due to bootstrap. So I took to LyndaCampus and learned Ionic, which we used to develop our app. I also integrated the DBS PayLah API into our app. End of the way, we had a presentation and I'm glad to announce that we won first place! =D
(10) Someone I know is selling his B+ with power cable, case, and memory card for $30. It is a good deal at that price, but I'm not sure what I will do with another B+. The RPi2 is so much faster. Ever since I got it, I have been using it exclusively, swapping memory cards when I have to, and only touched my B+ yesterday, when I was at home and wanted to try out Kali (don't bother trying it on B+, use 2 instead). If I find a use for it (them) I guess I will buy it.
Tor relay? Guess I can consider this, relay only, no exit node.
Tor router? Sounds cool but I if I really needed so much privacy there are other ways to achieve it. Can't think of when I would need a tor router.
Rebuild or improve the arcade machine and leave it in it permanently? I think this sounds like the best idea, especially if I used a transparent/translucent box to house everything, possibly add on a fan or two.
I'm glad I booted up the B+ before committing to buy another and before the Zero came here.
Wednesday, 16 December 2015
Saving the Nexus
Not a project per say but my phone had ended up spinning around in the washing machine for a few minutes and I needed it saved. I tried a method recommended by friends, keeping it in rice for a few days.
Unfortunately that didn't work so I decided to take matters into my own hands and open it up. I opened everything, used nail polish remover to clean some dirty parts and finally used a hair dryer to get everything dry.
There are some marks visible against white, but I believe that is just water under the screen that will eventually dry out.


Monday, 9 November 2015
fired up NFC reader
(1) get a new one (not sure if it will work)
(2) get a small screen just for the Pi, about 5 or 7 inches, seems to sell for about 50sgd on DX.com
(3) get a new (and bigger) hdmi monitor :p
(4) just switch my monitor with the one at home
(5) get a new dongle and continue using SSH. This isn't ideal when I need to fire up the GUI as it isn't stable over SSH.
Anyways, photos.

Booting up the RPi

The NFC board did not indicate power so I realized I need to solder them (the bending for contact method did not work).

Luckily I was at home and my soldering kit was available.

All soldered up. Did not do a very good job. Think I will buy a thinner solder as well.
 |
| It now indicated power when connected to the RPi. |

Here I have managed to recover the keys of a old NFC card I had lying around.
I had some issues with installing this MFOC library. I will experiment more after the exams and explain in detail my issues when I do so.
Wednesday, 4 November 2015
trying to fire up NFC
So I hooked up the NFC reader with my RPi2, to communicate with it over UART. I decided to try this before trying SPI/I2C with the Arduino, because this will give me more direct control. However I was unable to get my RPi to boot up. At first I thought it was a power supply issue (RPi was only drawing 30)mA, regardless of what was plugged in. Then I noticed that my phone was drawing 1.3A so it could not be an issue with the power supply. I checked online and by the behavior of the LEDs (the green blinks for a while before going off, red is on all the way), it is possibly booting up. As I do no have my Wifi dongle or a spare LAN wire with me, I could not check using the network. Then it hit me, it must be the HDMI-VGA causing the issue. Now this converter works with my laptop, but I do not recall it working with the RPi before. Probably cannot draw enough power from it? However it still does not explain why the RPi is only drawing 300mA, even without anything plugged in. I guess I will have to monitor or check online if that is its standby power requirements (at 5V).
Anyways, here are some photos.


Anyways, here are some photos.

The package

The bill

The goods, all sealed up. Good thing is that the bad is reusable.

All the things it came with. at first I did not know what those two black things on the top left were for, but then I realized they were to switch between ON and OFF for two variables.

Hooked up to the RPi2. I did not have my soldering kit in hall so I had to improvise. It was a little hard as not everything was spaced evenly (between different sectors). I have bend the jumper wires to try and ensure contact but won't know until I fire up the RPi.

After trying everything and before packing everything into the box so that I can bring them home and try them on the HDMI monitor. Ignore my watch.
Friday, 30 October 2015
To the skies...after some repairs
I bought these two spoil quadcopters on carousell. They cost me $18. I figured I can open them up to see how they tick for a low price. Plus, I'm sure not everything is spoil (like the RC controllers might be working).


Here I have opened up one of them. The frame is surprisingly sturdy.

The motors being connected to the micro-controller.

The battery seems bloated. Might be why it isn't working.
I went to find out what the things written on the battery mean. the 300mAh is pretty standard.
15C, which I originally thought was optimal working temperature, turns out to be 15 capacity. This means it can be discharged at a maximum rate of 15 times its capacity. In this case, 4500mA (4.5A).
Also learned about multiple cells being grouped together in series(S notation), to increase voltage, and parallel (P notation), to increase capacity. The battery I have is a single cell.
Still trying to find out what the first line means (I suspect it is the 'model' number) and the last one (initially I thought it was date of manufacturing but then I saw a picture of a battery with 3 digits in the middle). Once I have done that, I can order replacements.
Edit: Asked a friend. He also thinks it is date of manufacturing. Also suggested that 752030 could be dimensions. Sounds legit.
Asked Reddit (r/diydrones) as well. Waiting to hear back.
Tuesday, 20 October 2015
Absence and updates
It has been a long time since my last post and the reason for that is because I was involved in a start up! We taught computational thinking and I was the main Python instructor. Along the way I learned bootstrap and actually set up our website. A few pages are still not done. You can check it out here: www.thekrono.com.
So last week I met up with a friend to help him get his proximity sensor up and running with Arduino. Then I realized how much I missed working with Arduino. My own FYP is purely software(more on that in another post), so sadly I wont get to play with hardware.

I've decided to hold some Arduino workshops for Open Source Society, since so many people seem to need to learn Arduino. I will start on Sunday (trial class with friends) and then hold the first proper one on Thursday. I will be calling this series 'Tinkering Thursdays : Arduino 101'.
Meanwhile I have been eyeing a NFC card reader shied that works with Arduino and Raspberry Pi.
It is called 'PN532 NFC/RFID Controller Shield for Arduino'. I am wondering if I should get the original (will cost me 50-70) or a third party one from DX.com (will cost me 30). Will give an update on it once I have bought it and tried it out.
Tuesday, 28 April 2015
2 Wheel Self Balancing Robot - Robot body
So there are three general components to this project:
1) Electronics hardware
2) Robot body
3) PID
4) Code (other than PID)
I will be making more posts going into details about topics (1) (3) and (4).
For this post I will speak about the easiest part, part (2).
So by this point I had tested everything individually. Had to put it together then start tuning the PID.

Got a battery holder from Sim Lim tower that could hold up to 8 * AA batteries. Thats a grand total of 12 possible Volts.

I used solder to complete the circuit, since I was using less than the maximum number of batteries.


Because I refused to pay $30 for the robot body kit, I had to improvise and build a body from things I had lying around. The major contributors were foam, zip ties and blue-tack.

The final product.
This made me realize how much resources are at our disposal all around us; we just need to use our creativity. That's the reason why I classified this process as a major section of the project, although it was done in just a few hours. Currently I took this apart so that I could savage the foam and Arduino for other purposes, but I think over the summer I will revive it with a better body. Will take a video then and upload it.
Arduino based webcam face tracker
So for this project I used processing, openCV, Arduino and an old webcam.
The Arduino code is from Adafruit and the processing code is written by me and (soon to be) hosted on my Github. For the code, skip to the end.

I decided to used my (10+ years?) old webcam.


The base was very heavy so I decided to remove it. Then I decided to open it up as I was curious to how its inside looked.


This is how it looked like on the inside. The round black rubber thing makes sure light is tunneled though to the lens and does not get in from angles.


As the rubber cover was in place due to pressure, and the pressure was removed, I tired to fashion another cover out of things on my table. What worked in the end was foam (as usual).

Managed to get the code working with an external camera device.


While I had a servo(on the left), I wanted to make it work on two axis so I purchased another one and also a First Person View(FPV) cradle.


Honestly the cradle was hard to put together as it did not come with instructions and I had to figure out how to assemble it on my own. And to make matters worse, I was not provided with the correct arm size(the white thing). Cutting its length was fine but the width was very troublesome.

And tad-da! The final product!
I took a video demo of it. One video of the webcam face tracker in motion and another screen recording. However the screen recording was not captured properly. Hence I cannot upload those videos.
About the code:
So initially I took two files from Adafruit. One was for the Arduino and the other was for processing.
While the Arduino code worked well, the processing one was broken. It was based on a library that could not be found anywhere on the net.
I then took a look at some of the openCV examples. Based off the examples, I managed to put together some code that did the trick. I will be uploading it on Github soon and will update this post with the link.
Wednesday, 25 March 2015
Scipt to automatically check kickstarter (pebble time)
So I backed Pebble Time ($179 slot) but today morning in the train I read on Facebook that some people had managed to switch to the lower $159 bracket due to drop outs.
Since I could not keep refreshing the page, I wrote a script to help me check for vacancy. It is hosted here:
https://github.com/Ashwani001/kickstarter-scripts/blob/master/kick-checker.py
Missed a few chances but managed to change on the 4th or 5th chance. Saved myself about SGD30 and it was the first time I wrote a mining(? not sure what to call this) script for application.
Ok so the how to, for non coders:
(1) Download the file (kick-checker.py)
(2) Open a terminal (command promt)
(3) Navigate to the file
(4) type 'python kick-checker.py'
(5) Now just push the terminal into a corner and you can carry on with other work, with your eyes having to glance at it once in awhile
(if you are unfamiliar with navigating or do not have python, feel free to ask in the comments. as always, google it first though.)
I know this is not ideal. I think it would be much more helpful if it could play sounds.
Perhaps someone can help me update it to play a sound when there is a vacancy, or to even automate the whole process. Else I will look into it the next time I am backing a project.
Thursday, 26 February 2015
Arduino Initiation Ceremony
My younger brother has to work with arudino for a school project. Over the weekend I went though the basic tutorials with him.
 |
| This pictured captured his "hello world" moment, blinking led. |
LED Cube - ini
Project Initialization: LED Cube (3by3)
So I decided to make a LEDCube.
A simple 3by3 one to begin with.
A simple 3by3 one to begin with.
 |
| (1) Didn't have a prototyping board so I compromised. Poked holes at what I hope is equal distances. |
 |
| (2) First row soldered. |
 |
| (3) All soldered. |
 |
| (4) This was definitely the hardest part. Soldering them one on top of the other. |
At this point I realized I did not have enough resistors. I had overestimated my supply. Anyway I have ordered a bunch of stuff from DX, awaiting the delivery now.
Subscribe to:
Posts (Atom)